Tuscan Salmon Skillet
May. 11th, 2026 01:30 pmMy family loves seafood, and I think salmon is their #1 favorite fish. This creamy Tuscan Salmon Skillet is absolutely delicious and super easy to make. The salmon cooks quickly in one skillet, then gets tucked into a luscious Parmesan cream sauce with tomatoes, spinach, garlic, onion, and classic Italian herbs. Each fillet always turns out moist and flaky whenever I cook it this way. This Tuscan salmon recipe feels a little fancy, but it’s ready in about 30 minutes and easy enough for a weeknight dinner!

Creamy Tuscan Salmon Recipe
I kept things simple here so this creamy Tuscan salmon feels reliable from start to finish. There’s not a ton of vegetable prep, and everything happens in one skillet, which makes this recipe easy to pull off even when you’re pressed for time. The price of salmon can vary a lot, so I like to save this recipe for whenever I see a good deal on fresh salmon (or I’ll check the freezer aisle for a bag of fillets, which is usually cheaper!). Once the salmon is seared, the creamy sauce comes together with vegetable broth, heavy cream, Parmesan, spinach, tomatoes, and herbs, creating a super flavorful Tuscan-style sauce that feels cozy and satisfying. If you get tired of the same old lemon variations on seafood, this sauce is a fun breakaway from that flavor profile.
Love these creamy Tuscan flavors, but don’t eat fish? Try my Tuscan orzo recipe! It has the same creamy Italian-inspired sauce in a cozy one-pot vegetarian recipe.
Recipe Success Tips
- I use skinless salmon for this recipe since the skin doesn’t get crispy with this cooking method. The salmon is seared quickly, then nestled into a creamy sauce, so the skin will soften instead of staying crisp. If your salmon has the skin on, place it skin-side down, grip one end with a paper towel, and carefully slide a sharp knife between the skin and flesh to remove it.
- Avoid overcooking the salmon. I cook the salmon for 2-4 minutes on each side, then warm it back through in the sauce at the end. Thicker fillets and different types of salmon can all affect the cook time. I’m using Atlantic salmon here, which is usually fattier and a little more forgiving than leaner wild varieties like sockeye. The USDA recommends an internal temperature of 145°F for salmon, and visually, it should look opaque and flake easily with a fork.
- Use heavy cream for the creamiest sauce! Heavy cream holds up better in pan sauces than milk, but I still like to let it come to room temperature before using it. This reduces the chance of it splitting once it hits the pan. Half and half works too.
- Keep the sauce at a gentle simmer once the cream is added. Don’t let it boil, or the sauce can separate and create a not-so-desirable texture. This will also help the Parmesan melt into the sauce smoothly!
- Mom tip. If you have a picky 4-year-old, just call it “pink fish,” and maybe yours will be convinced to try it like mine did! Now, she requests salmon regularly!

Tuscan Salmon
Equipment
- Large 12" skillet
Ingredients
Tuscan Salmon
- 1.20 lb. salmon $10.39*
- 1 Tbsp olive oil divided, $0.19
- ¼ tsp salt $0.01
- ⅛ tsp black pepper freshly cracked, $0.01
- 2 Tbsp salted butter $0.20
- 1 onion diced, (6 oz.) $0.70
- 1½ tsp Italian herb blend $0.27
- 1 tsp dried basil $0.22
- 2 garlic cloves minced, (2 tsp) $0.09
- 3 Roma tomatoes diced, $0.69
Creamy Sauce
- 1 cup vegetable broth $0.13**
- ¼ cup frozen spinach squeezed and rinsed, $0.08
- ¾ cup heavy cream room temperature, $0.93
- ¼ tsp salt $0.01
- ⅛ tsp black pepper freshly cracked, $0.01
- 2 oz. Parmesan cheese grated, (about ¼ cup) $1.26
- ½ Tbsp fresh parsley minced, $0.05
Instructions
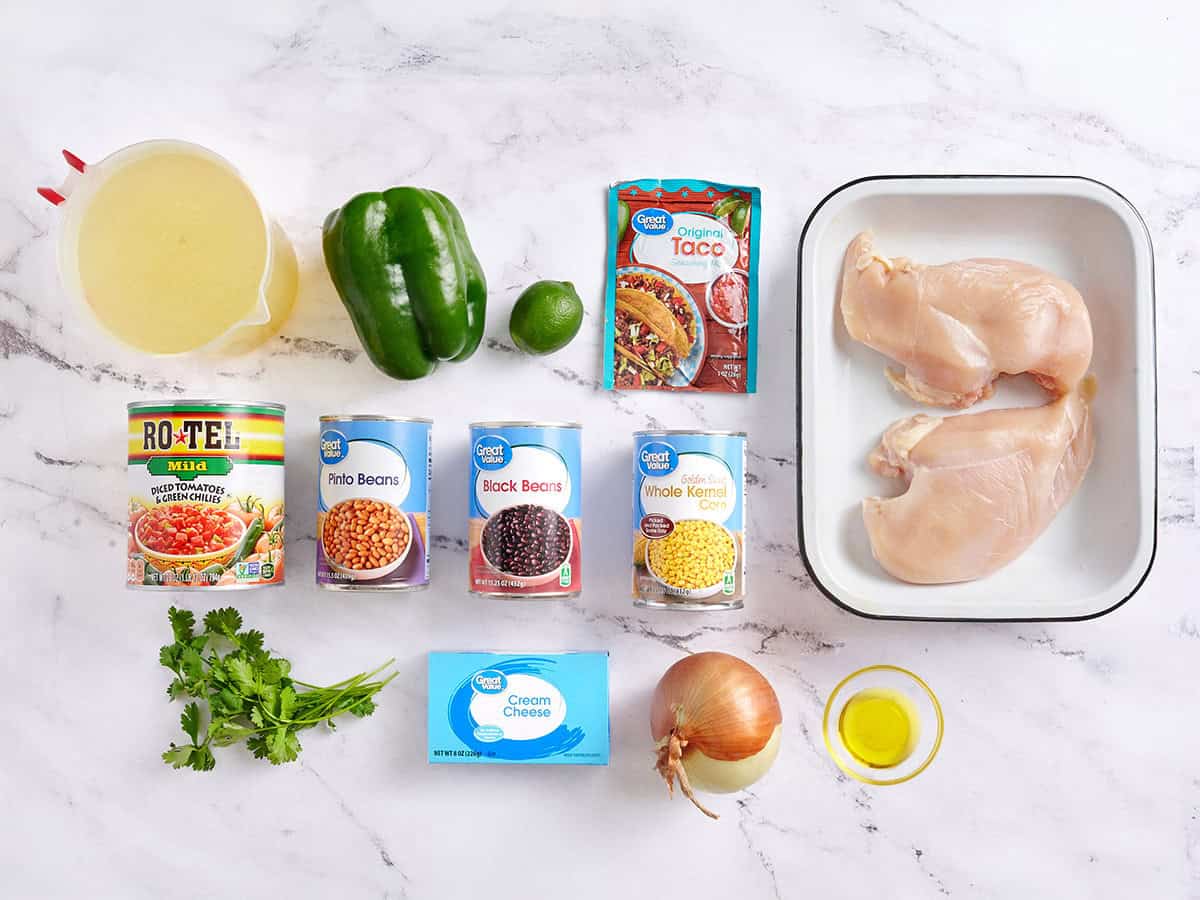
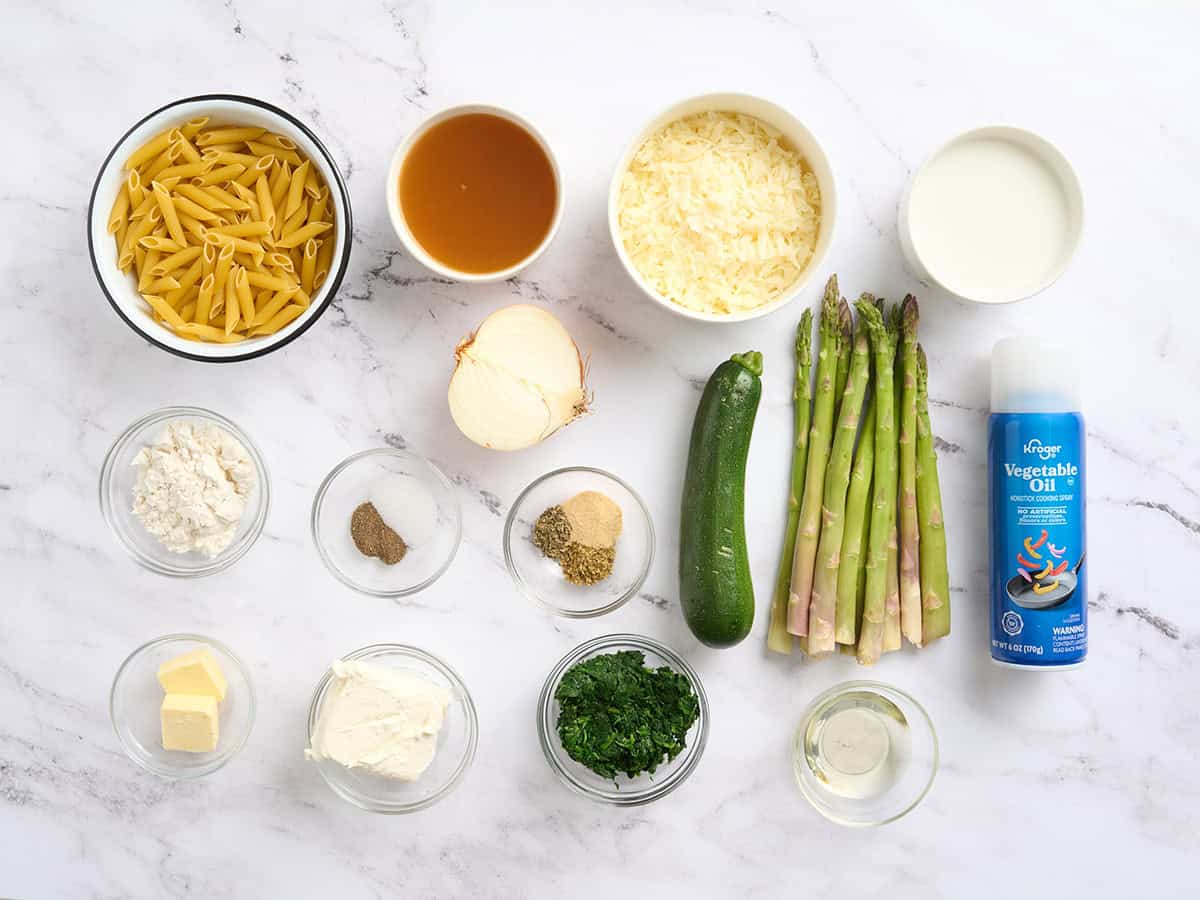
- Gather your ingredients.
- First, portion salmon into roughly ¼ lb pieces, or whatever serving size you need for your family or meal prep for the week. Remove the skin if you buy skin-on salmon. Rub salmon with ½ Tbsp olive oil and sprinkle ¼ tsp salt and ⅛ tsp black pepper. Let it sit on the counter at room temperature while you prep the tomatoes.
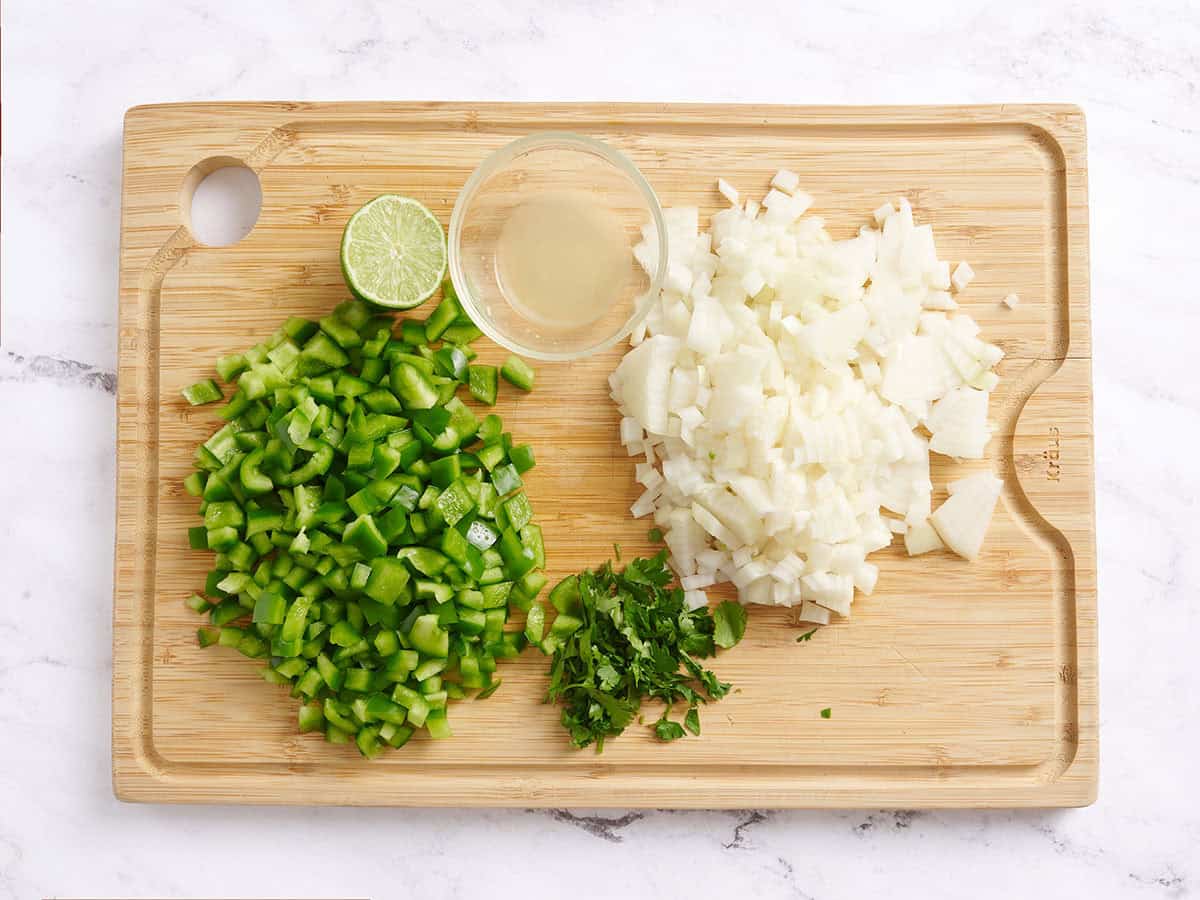
- Seed and dice tomatoes. You could leave the seeds if you want to!***
- Dice the onion.
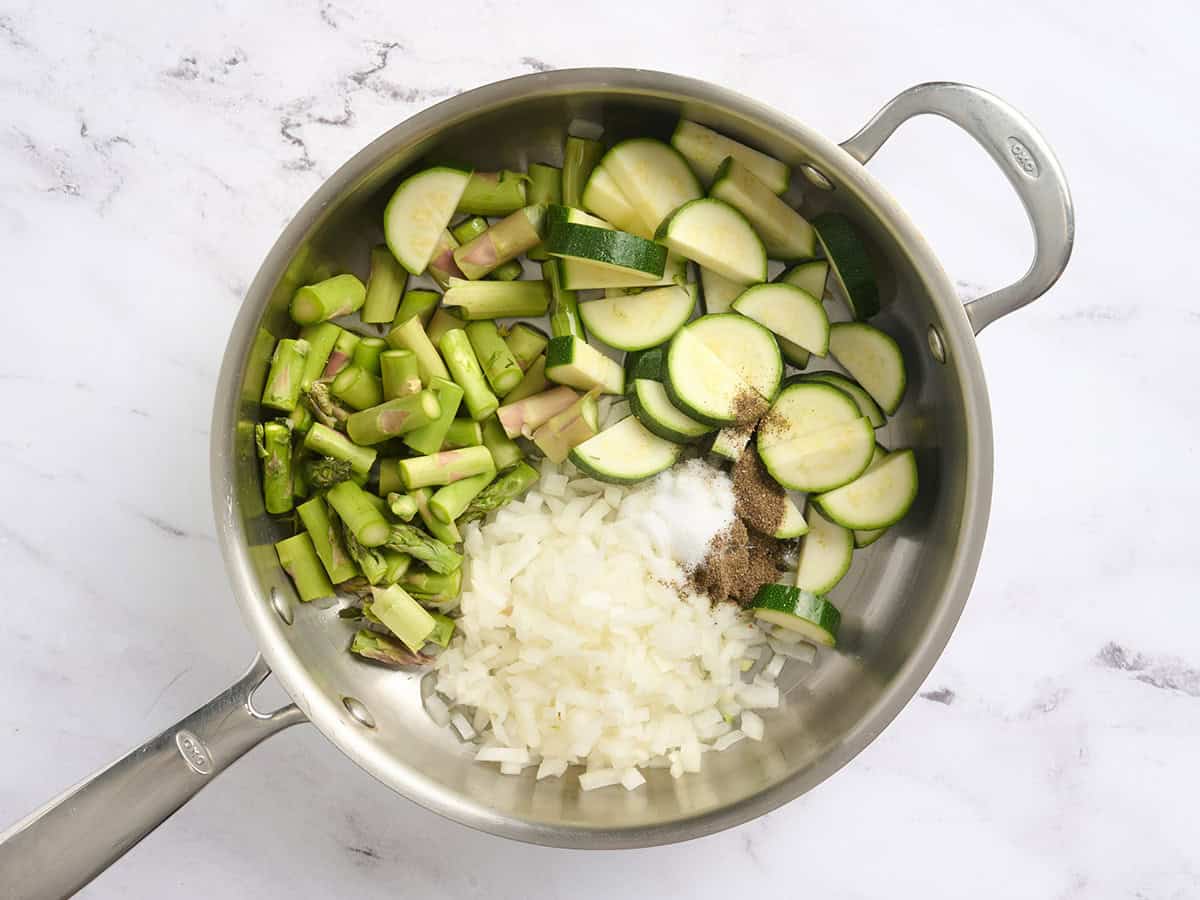
- Add remaining olive oil, butter, onion, Italian herbs, and dried basil to your skillet and sauté until onions are soft over medium-high heat, about 5 min.
- Reduce heat to medium. Add minced garlic and tomatoes and stir, sauté for 2 minutes until fragrant.
- Move veggies to the side and sear the salmon fillets in the middle of the pan.
- Flip salmon after 2-3 minutes and cook for another 2-3 minutes. Remove the salmon from the pan and set off to the side on a plate, covered.****
- Deglaze the pan with vegetable broth.
- Add frozen spinach (squeezed and rinsed).
- Stir in room temperature heavy cream and simmer for another 8-10 minutes.
- Then add ¼ tsp salt, ⅛ tsp black pepper, grated Parmesan cheese, and minced parsley. Combine to melt the cheese into the sauce.
- Add the salmon back to the skillet until warmed through. Enjoy!
See how we calculate recipe costs here.
Notes
Nutrition
how to make Tuscan Salmon Skillet step-by-step photos

Gather all of your ingredients.
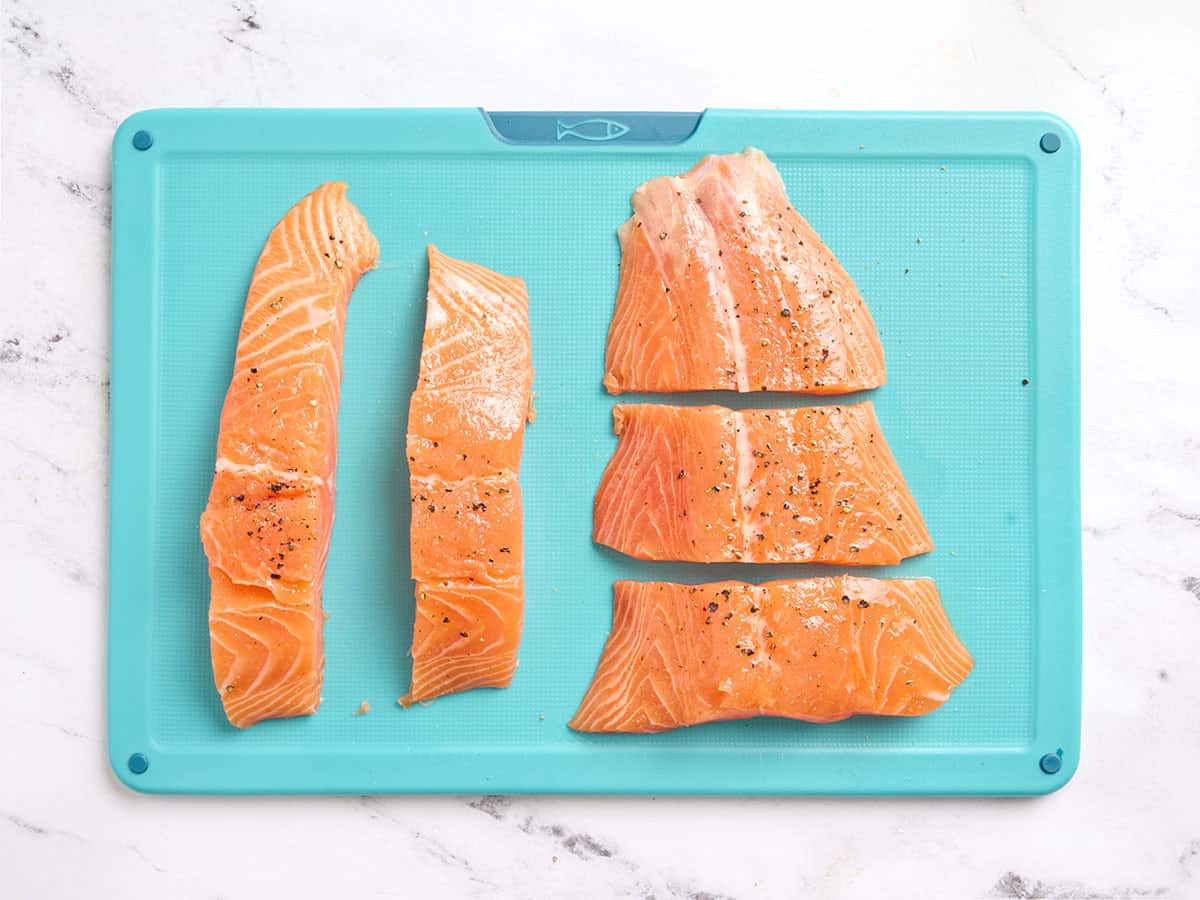
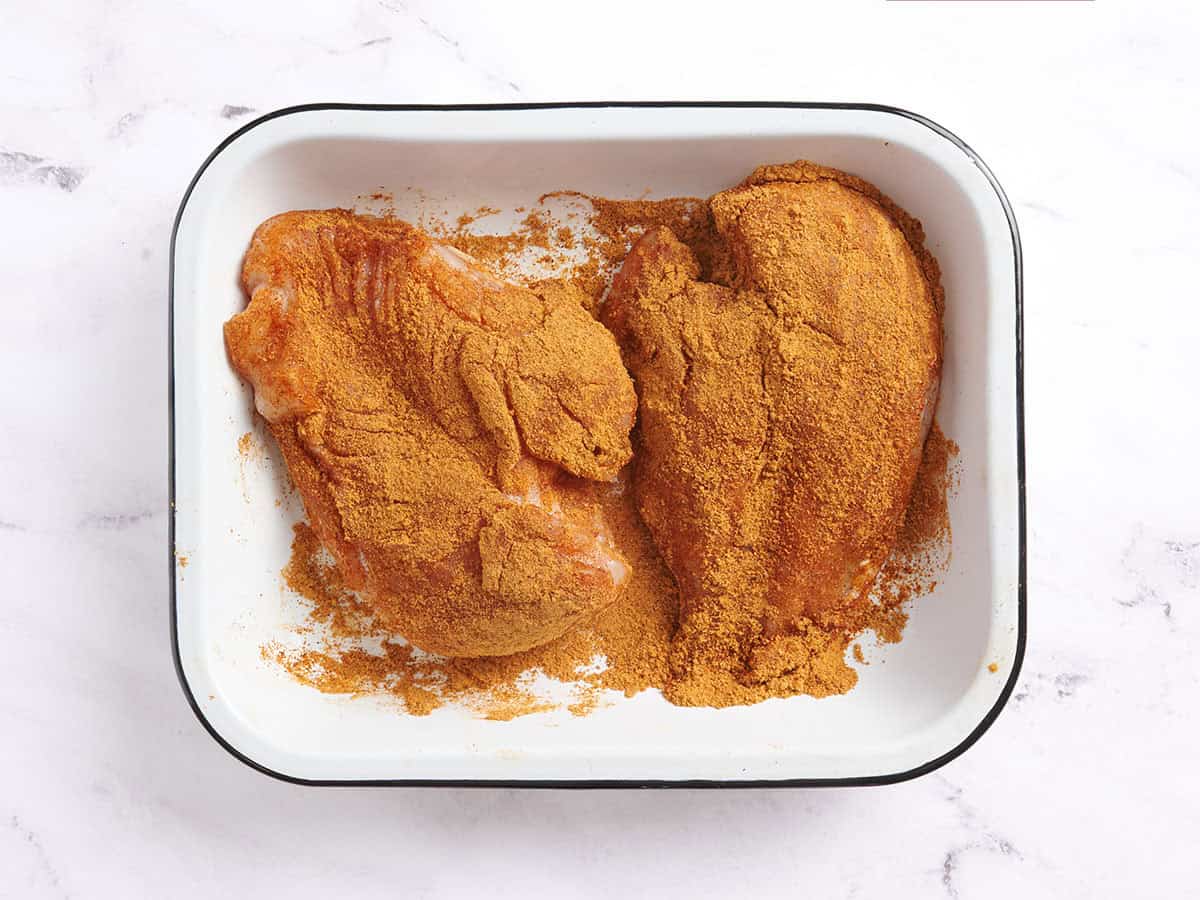
Season the salmon: Cut 1.20 lbs. of salmon into roughly ¼-lb. portions, or whatever serving size you like. Rub the salmon with ½ Tbsp olive oil, then season with ¼ tsp salt and ⅛ tsp freshly cracked black pepper. Let it sit at room temperature while you prep the vegetables.
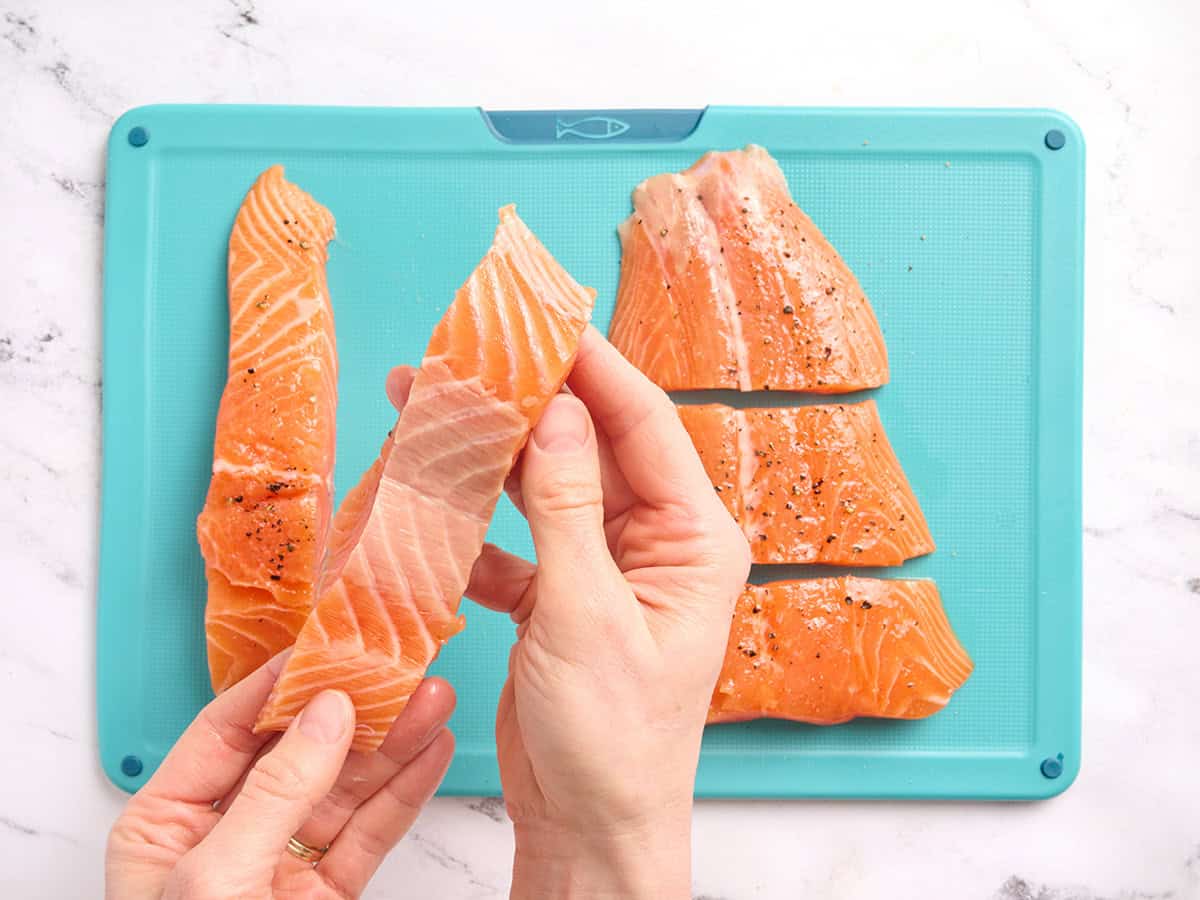
I use skinless salmon for this recipe since the skin doesn’t get crispy with this cooking method. If your salmon has the skin on, I recommend carefully removing it with a sharp knife before cooking. This photo here is what salmon looks like with the skin removed!
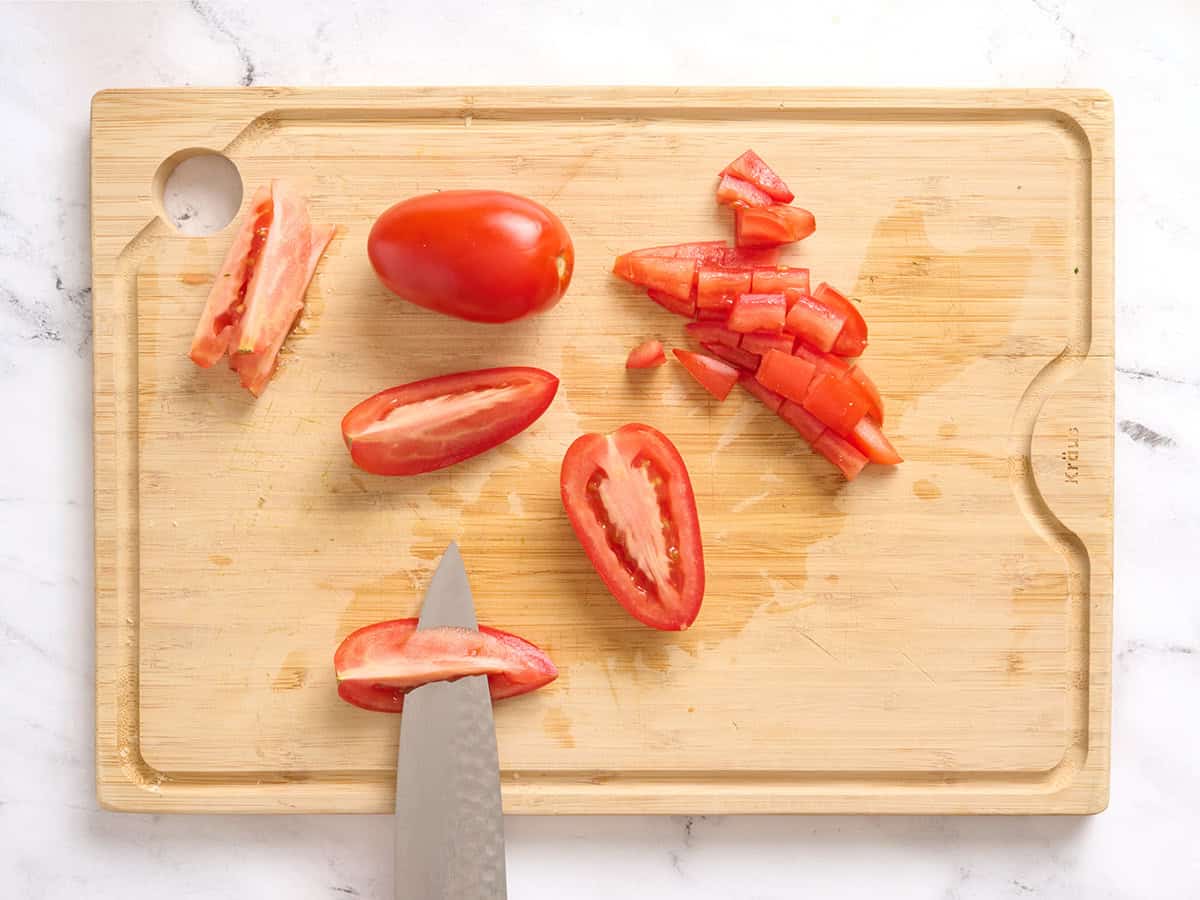
Prep the tomatoes: Seed and dice 3 Roma tomatoes. I like to remove the seeds because they can add a bitter taste that I don’t want in the final creamy sauce. You can leave the seeds if you prefer.
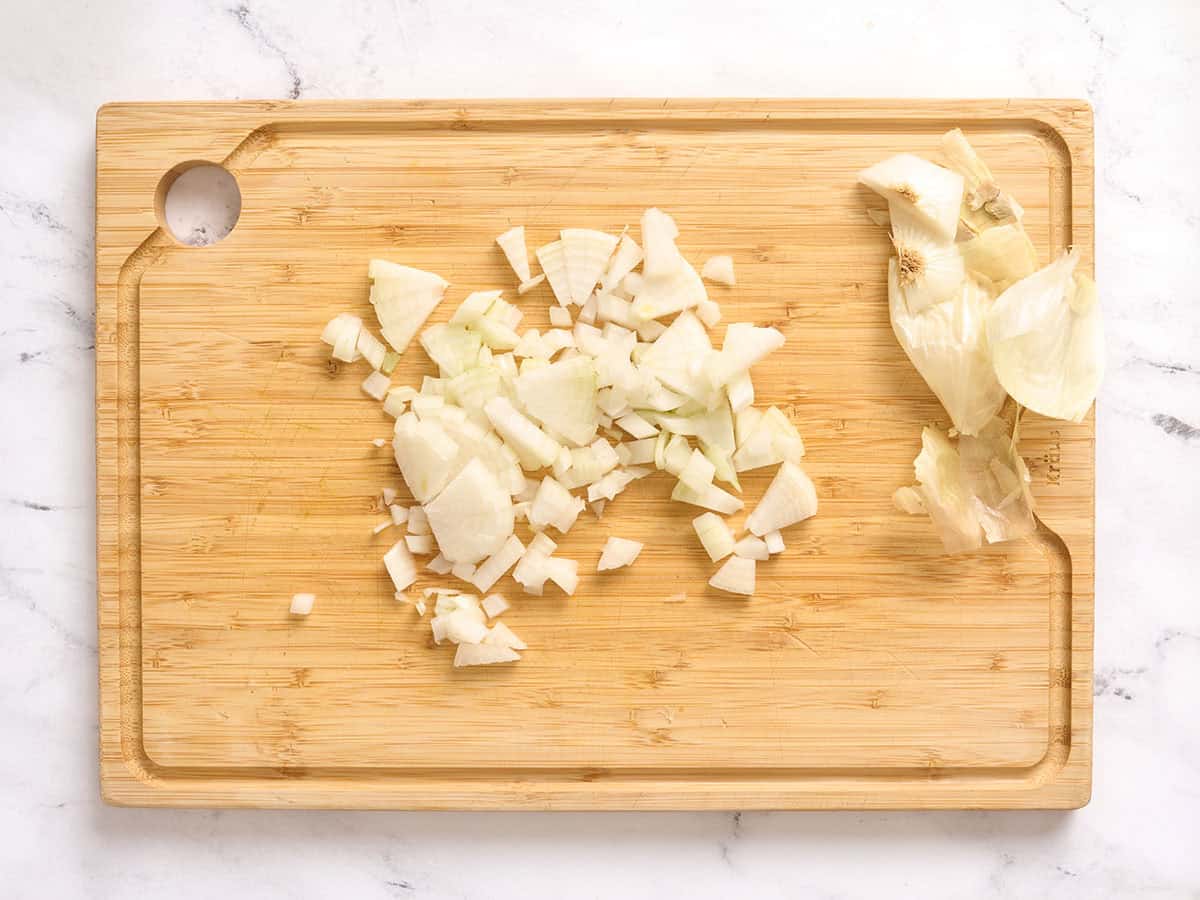
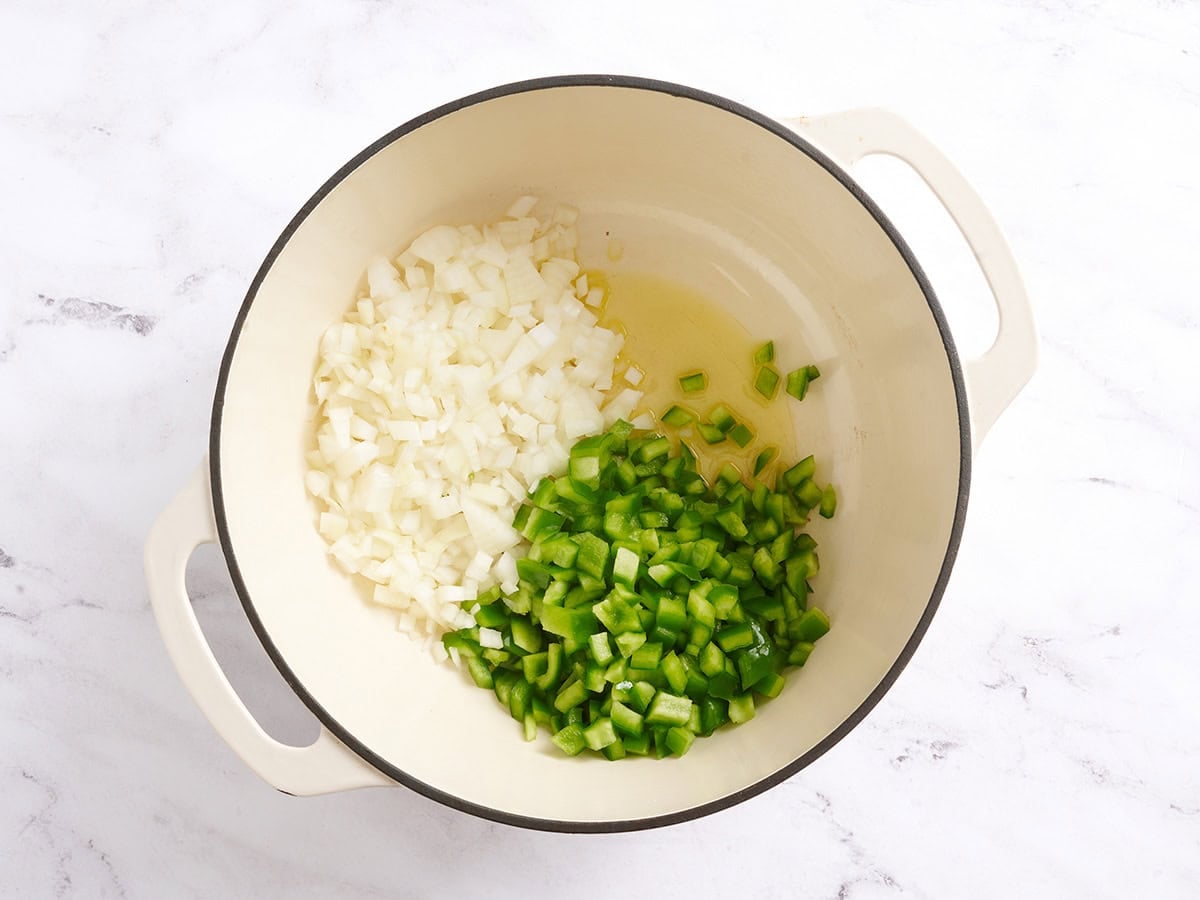
Dice the onion: Now dice 1 onion and set it aside. I try to keep the pieces fairly even so they soften at the same rate.
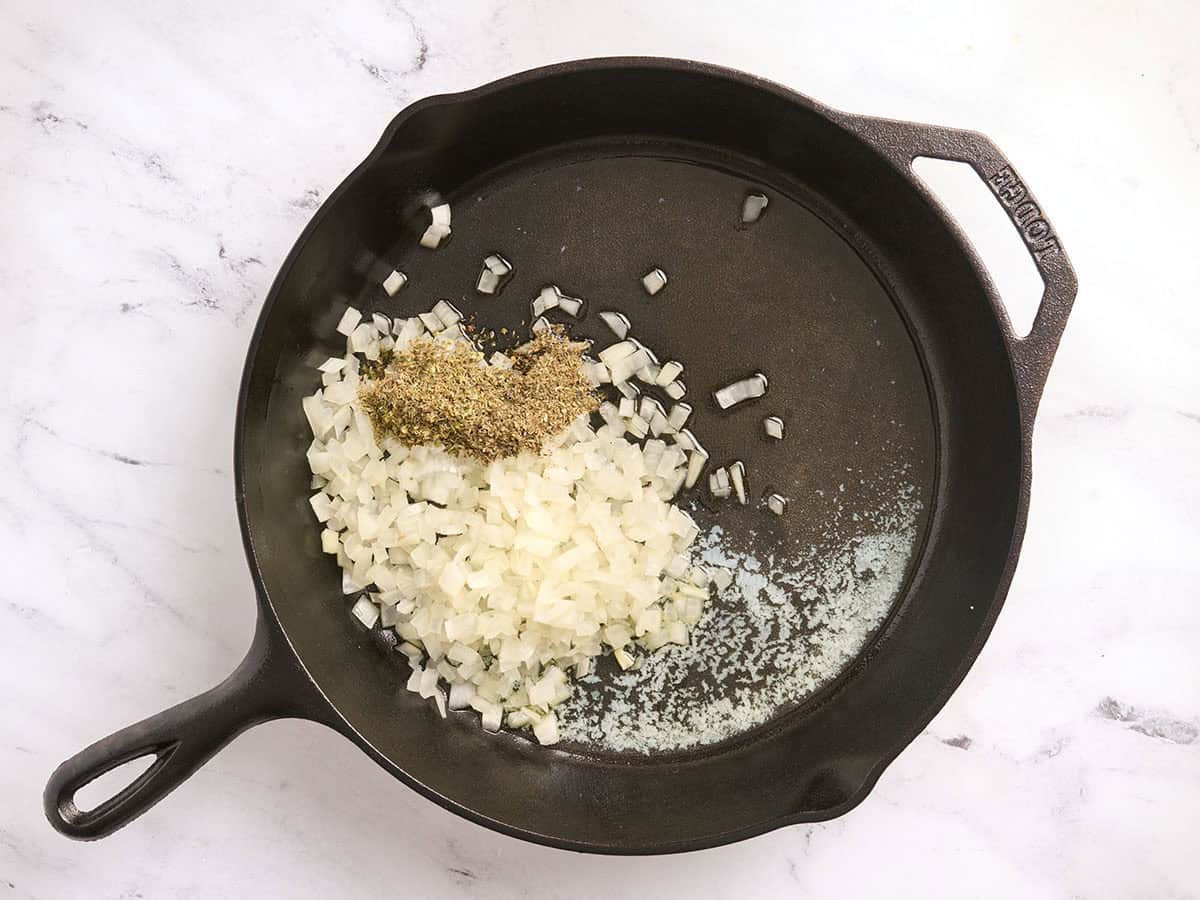
Sauté the onion and herbs: Add the remaining ½ Tbsp olive oil, 2 Tbsp salted butter, the diced onion, 1½ tsp Italian herb blend, and 1 tsp dried basil to a large skillet. Sauté over medium-high heat for about 5 minutes, or until the onion looks soft and glossy and the herbs smell fragrant.
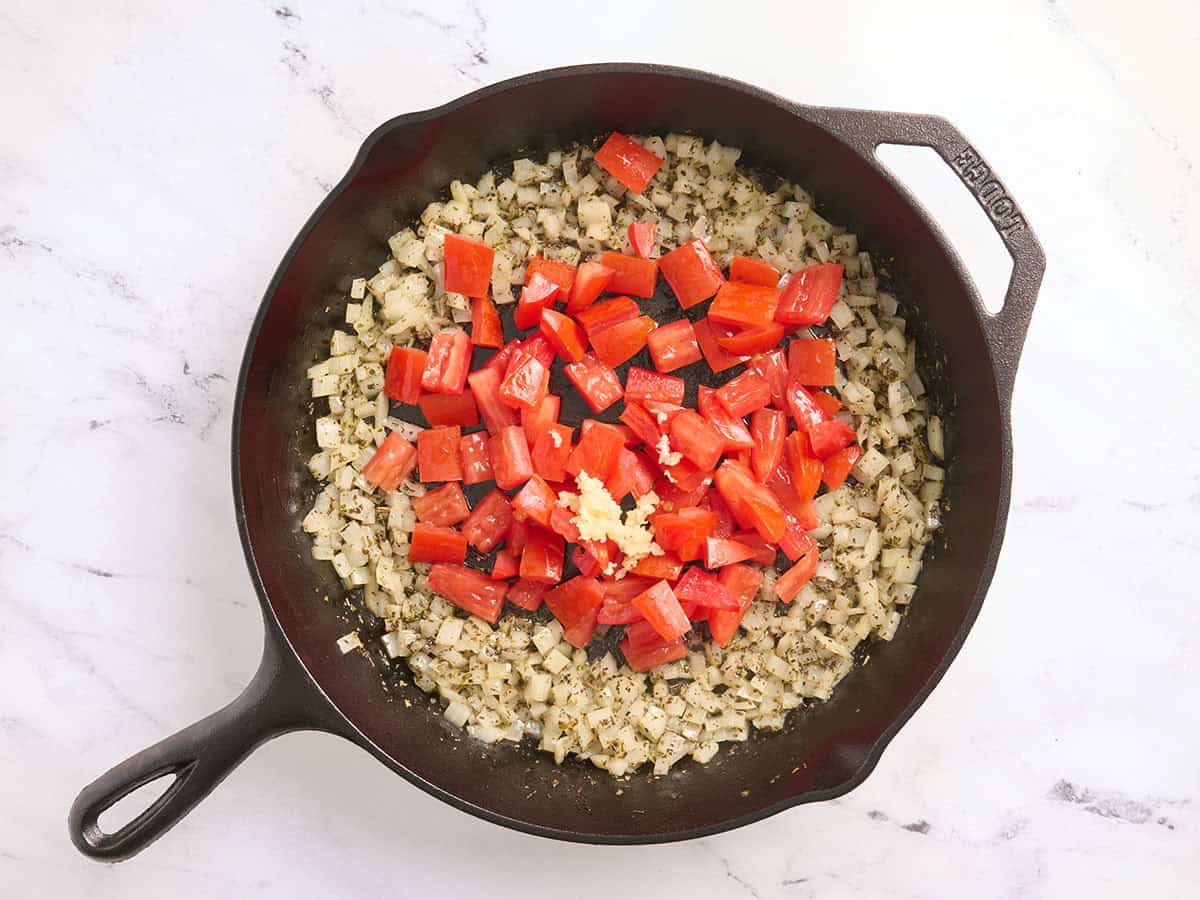
Add the garlic and tomatoes: Reduce the heat to medium, then stir in 2 minced garlic cloves and the diced Roma tomatoes. Cook for about 2 minutes, just until the garlic smells fragrant and the tomatoes start to soften.
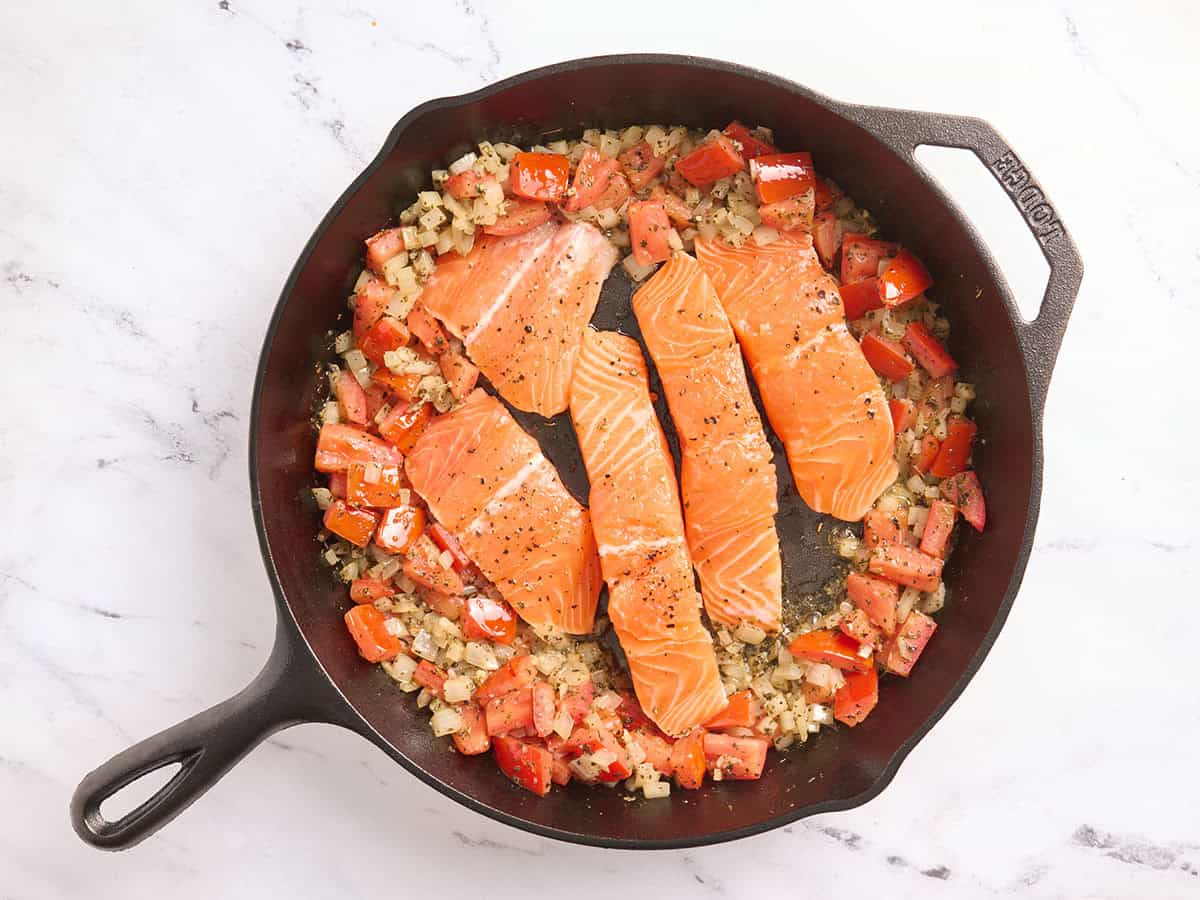
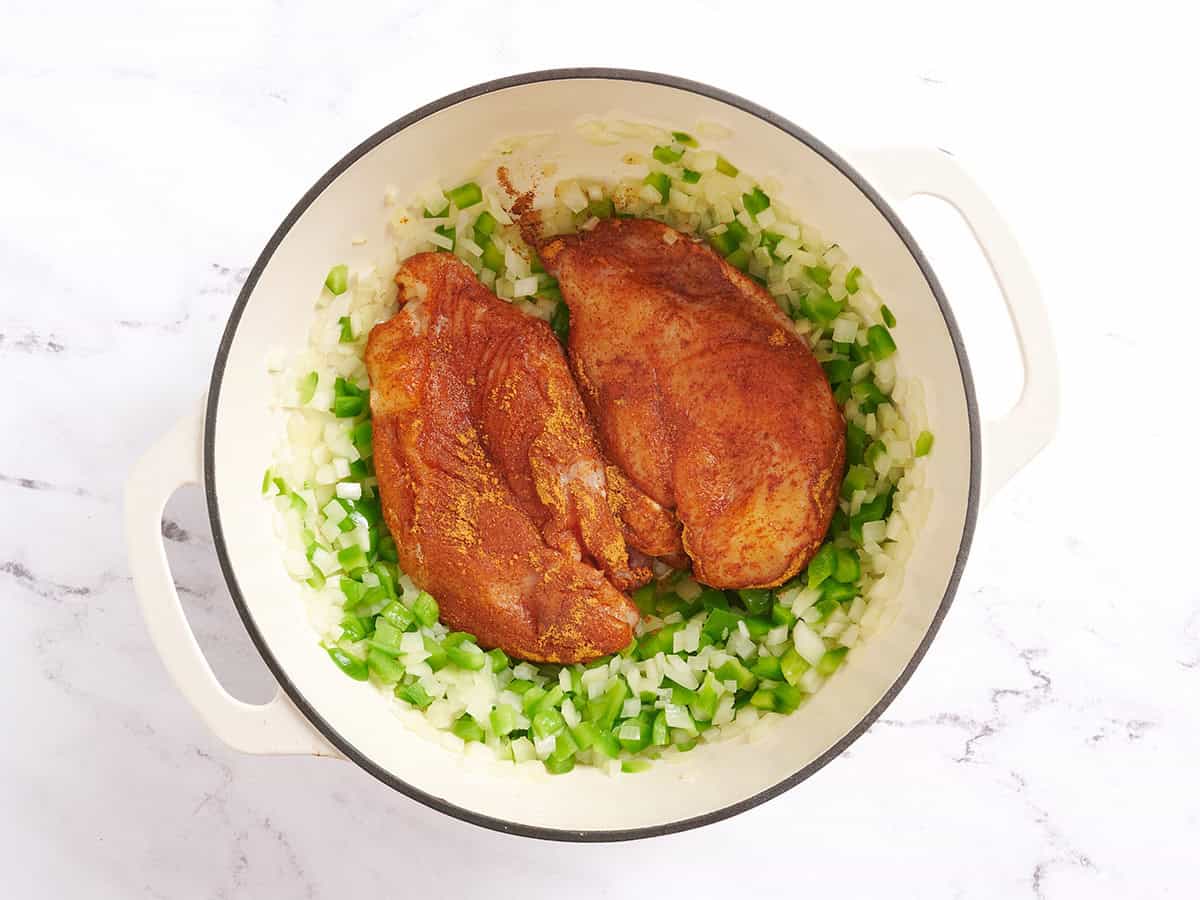
Sear the salmon: Push the vegetables to the sides of the skillet and place the seasoned salmon portions in the center of the pan. Let them sear undisturbed for 2-3 minutes, until the bottoms are lightly browned and the salmon releases easily from the skillet.
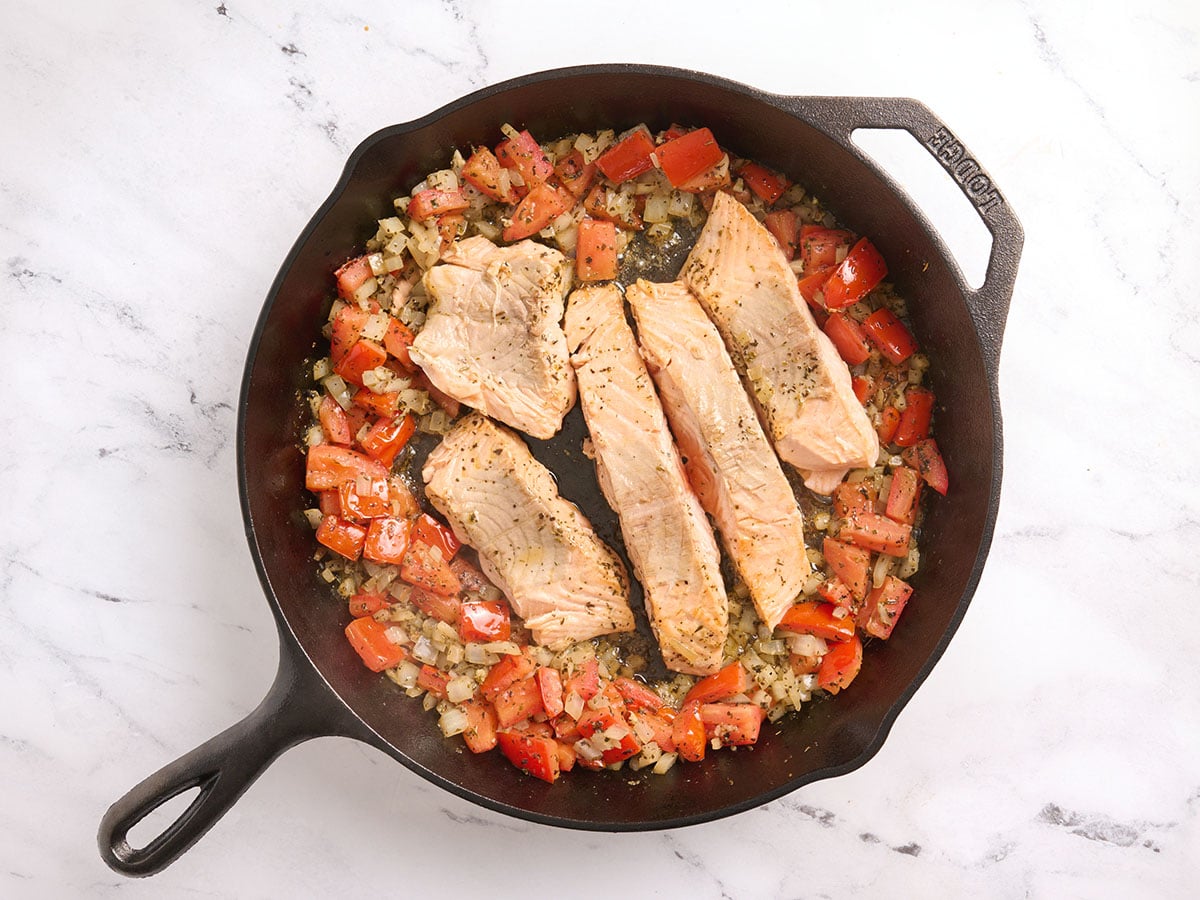
Flip the salmon: Carefully flip the salmon and cook for another 2-3 minutes.
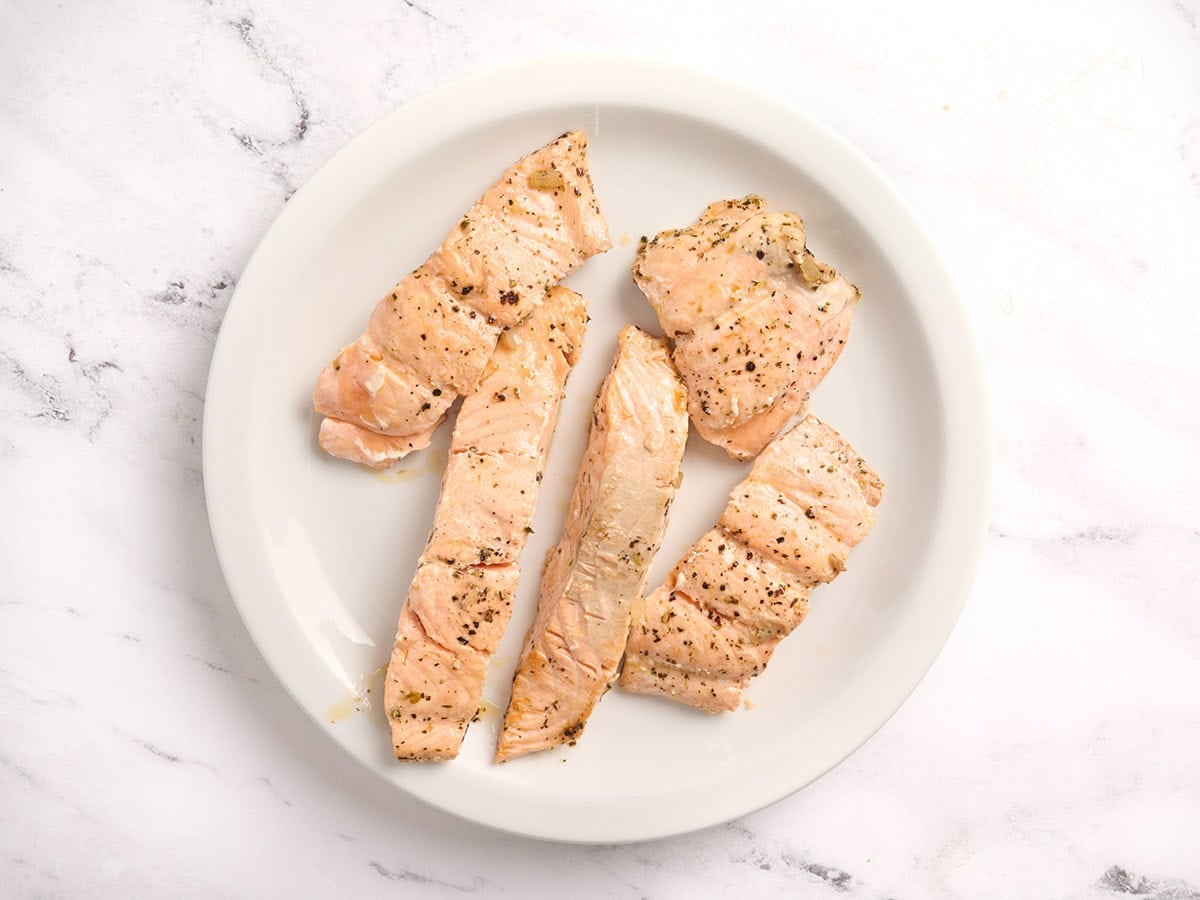
Your salmon is done when the internal temperature reaches 145°F, and the flesh looks opaque and flakes easily with a fork. Transfer the salmon to a plate and loosely cover it to keep warm.
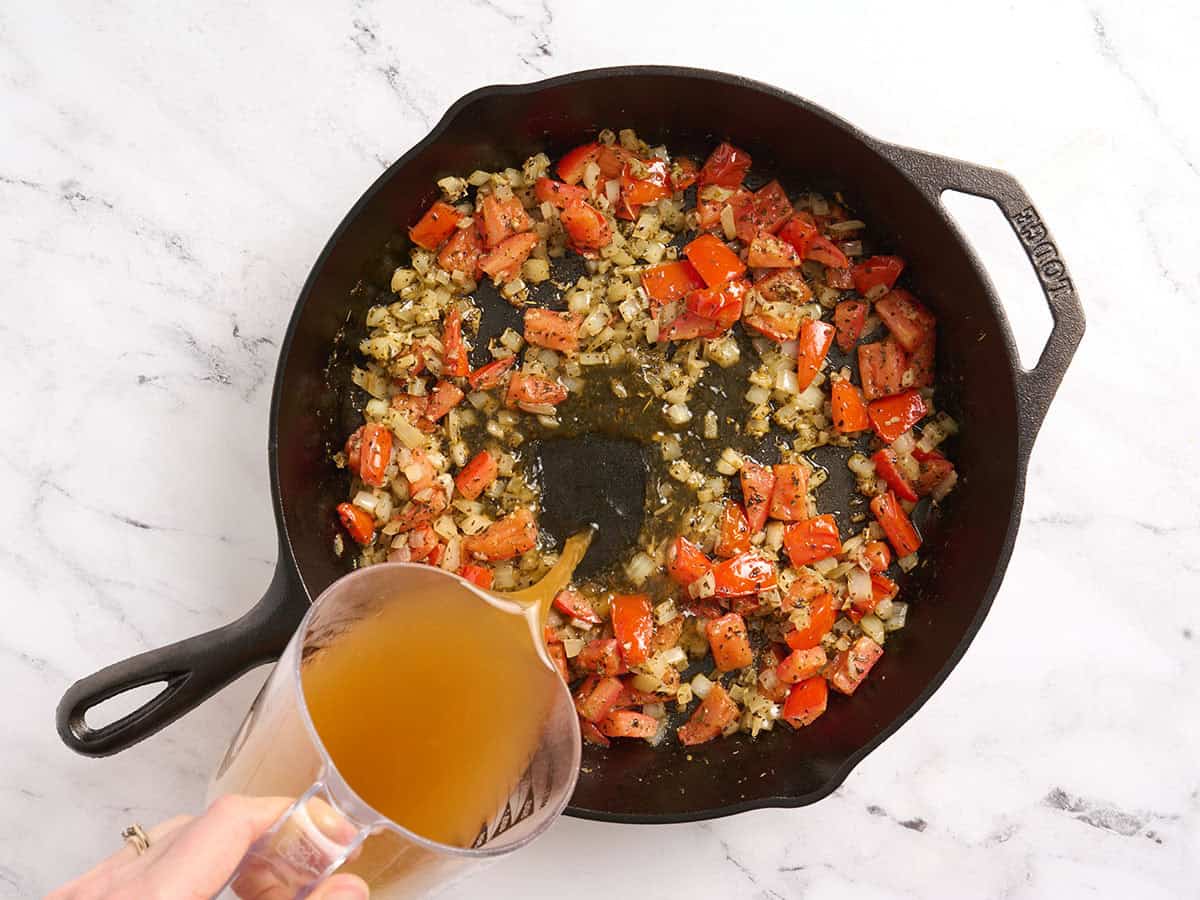
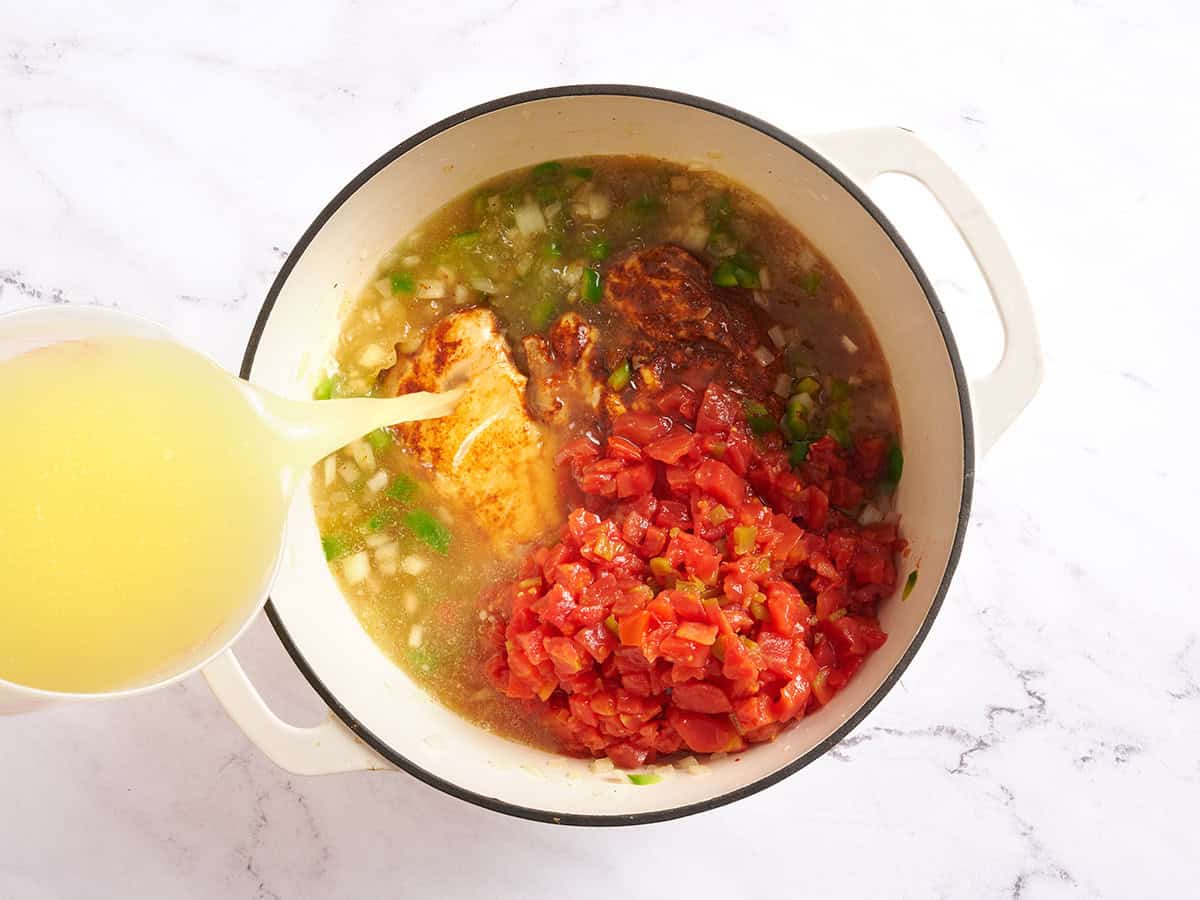
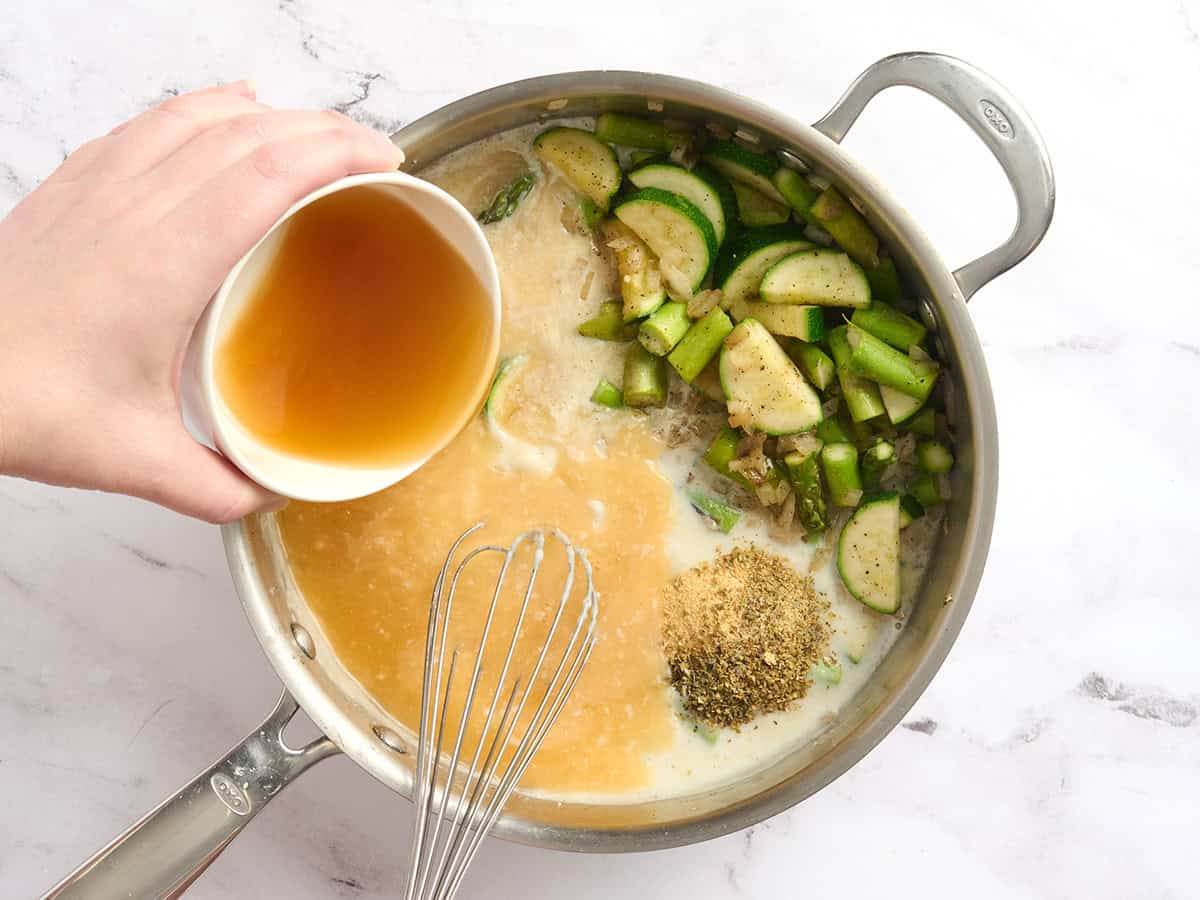
Deglaze the skillet: Pour 1 cup vegetable broth into the skillet, scraping up any browned bits from the bottom of the pan for extra flavor.
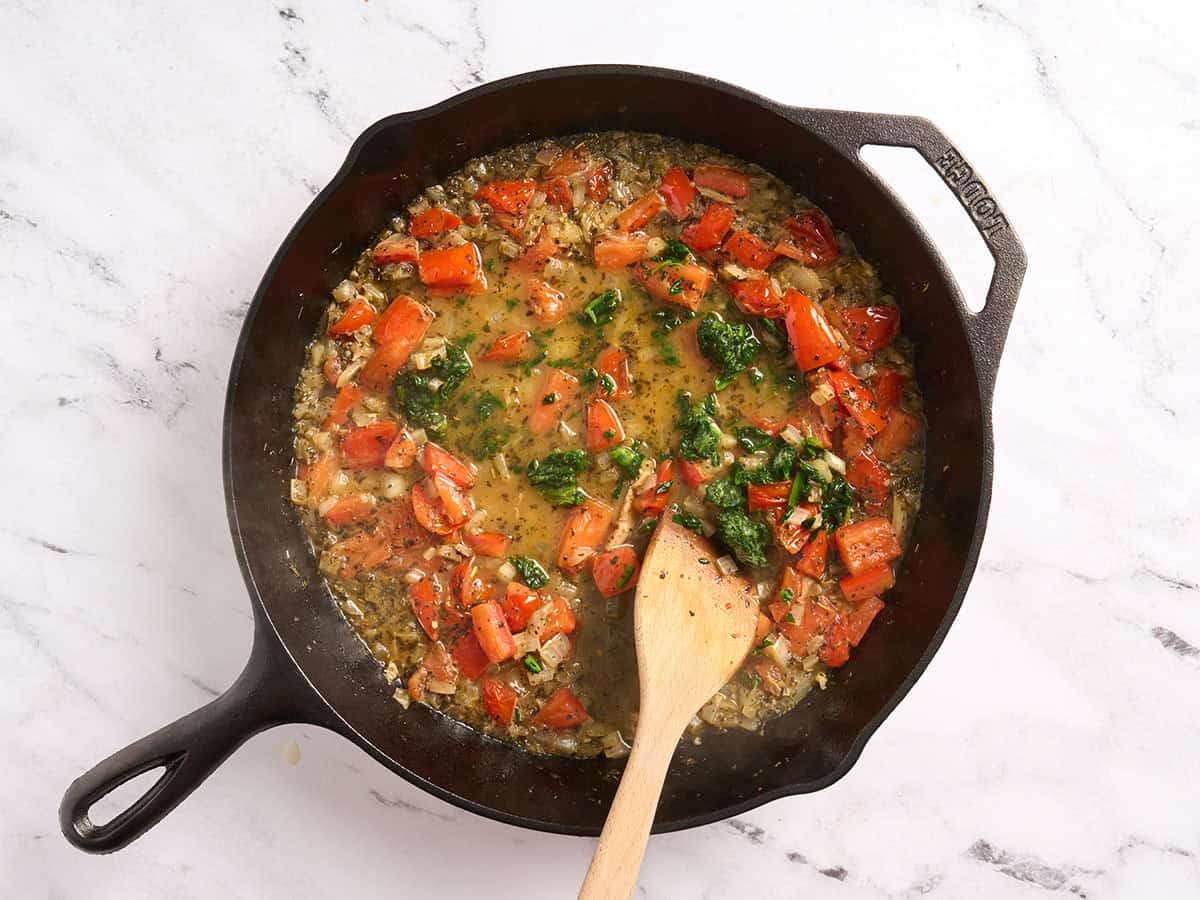
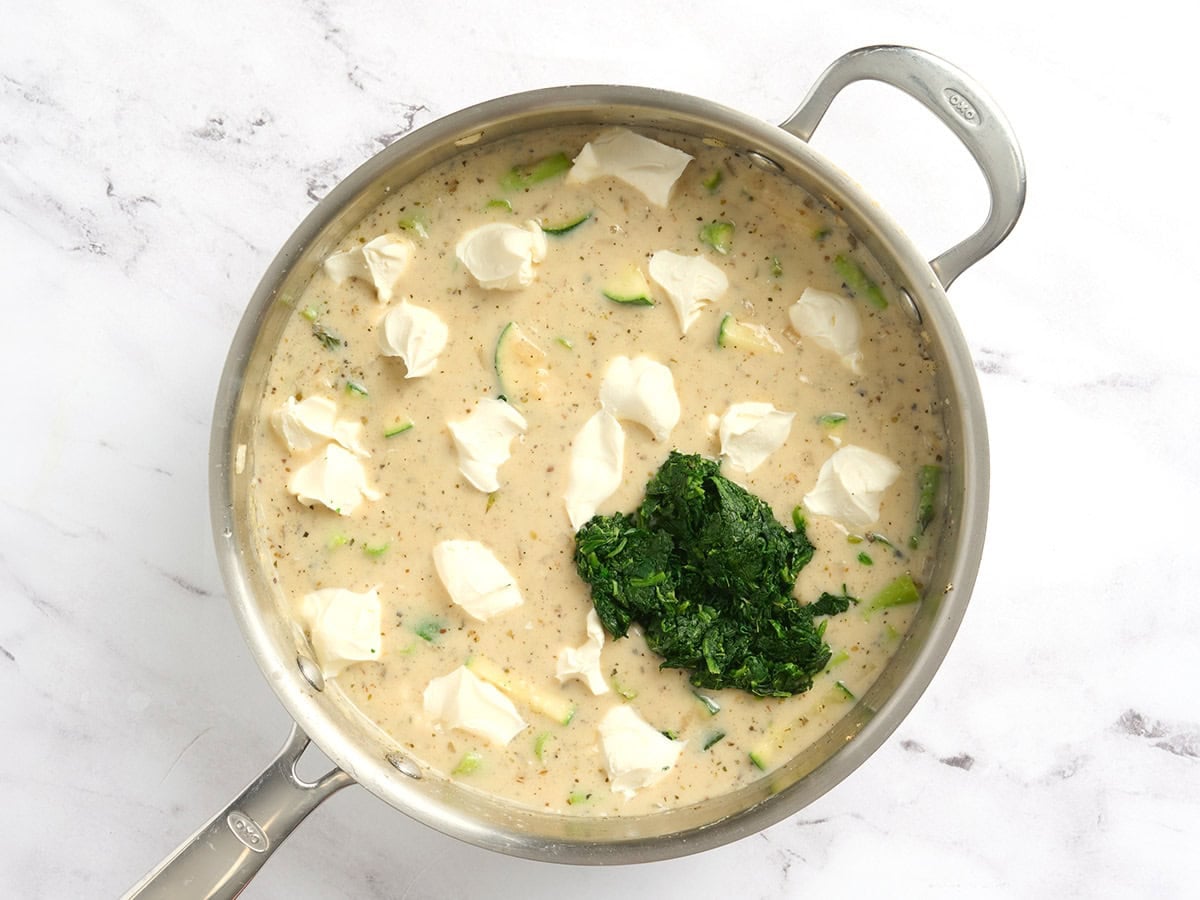
Add the spinach: Stir in ¼ cup frozen spinach (squeezed and rinsed) until it’s evenly mixed into the broth and vegetables. Squeezing thawed spinach avoids adding too much moisture to the sauce.
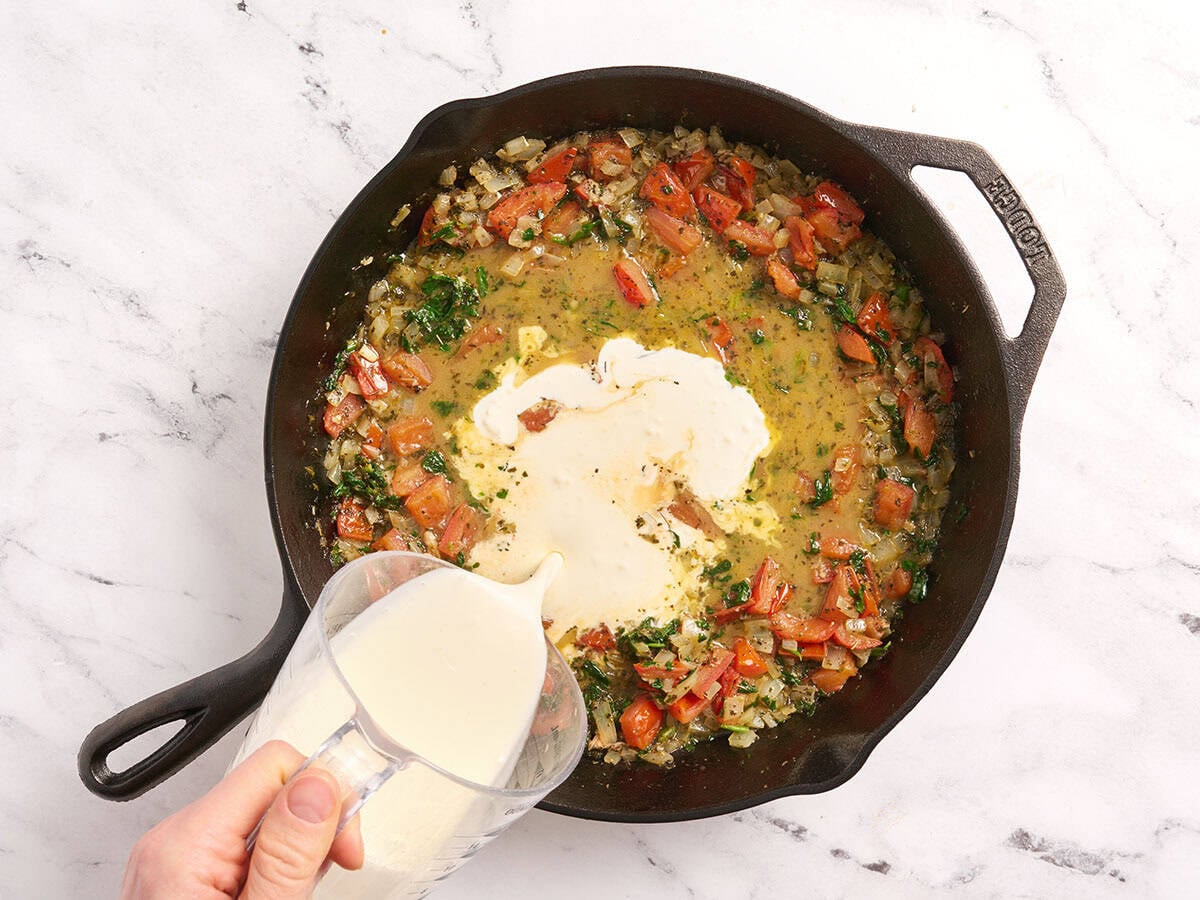
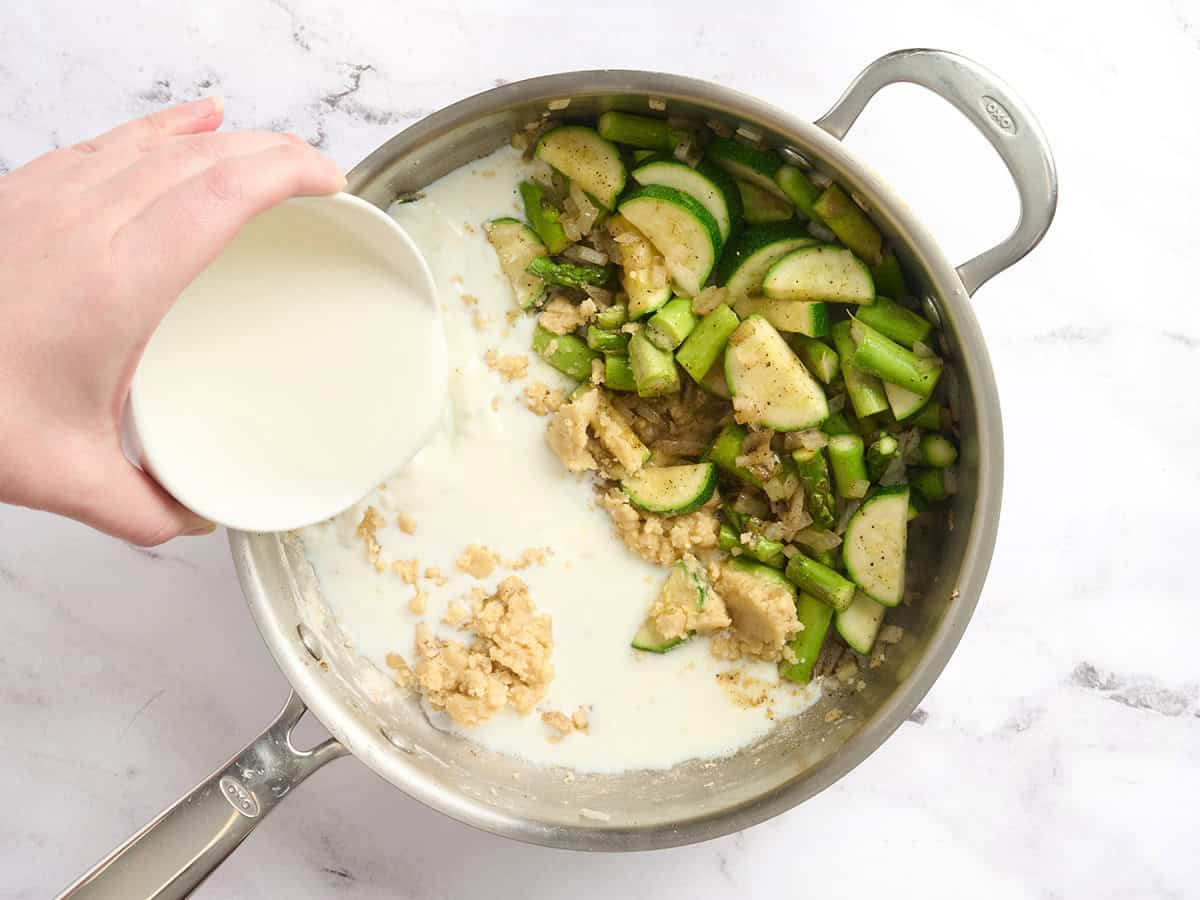
Make the creamy sauce: Stir in ¾ cup room-temperature heavy cream and let the sauce simmer gently for 8-10 minutes to heat through. Keep the heat at a gentle simmer so the cream doesn’t separate.
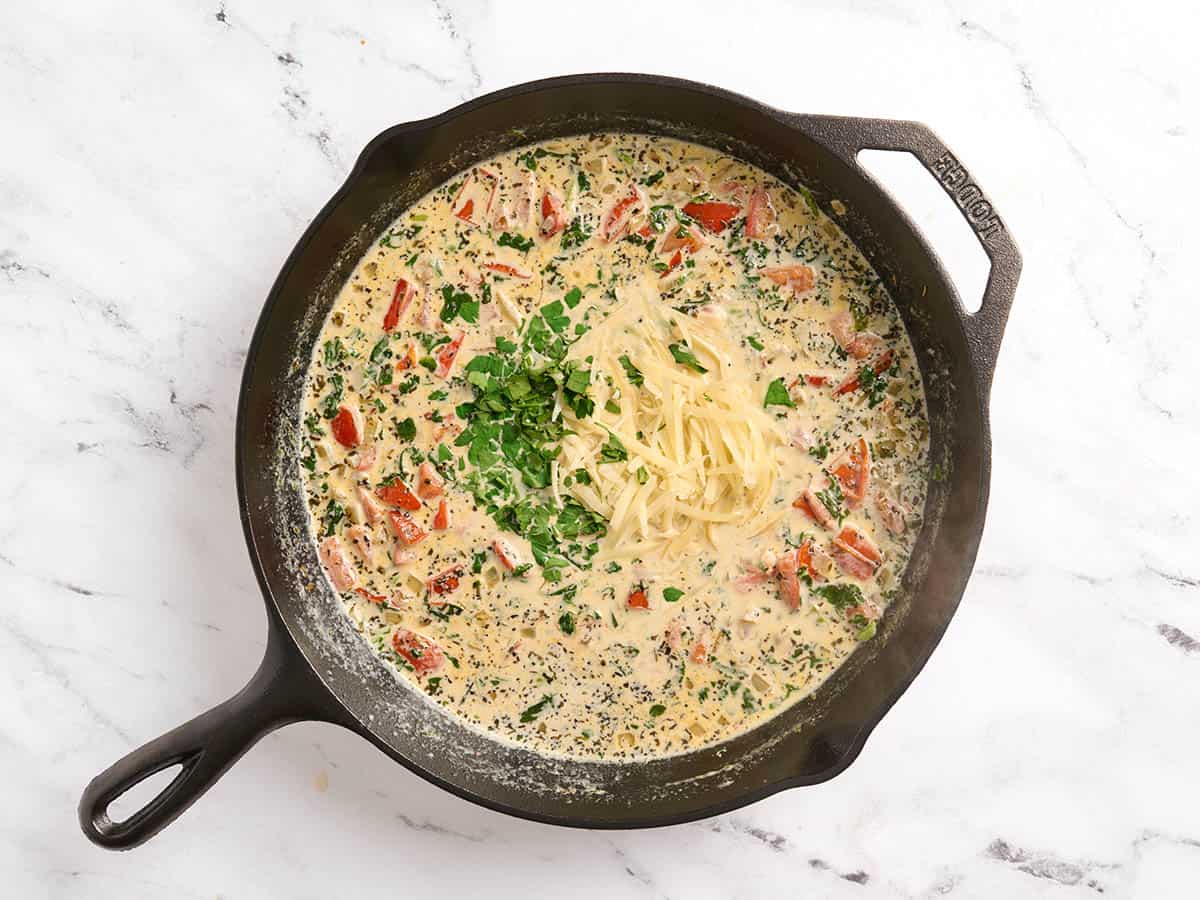
Add ¼ tsp salt, ⅛ tsp freshly cracked black pepper, 2 oz. grated Parmesan cheese, and ½ Tbsp minced fresh parsley. Stir until the Parmesan melts into the sauce and the sauce looks creamy and lightly glossy.
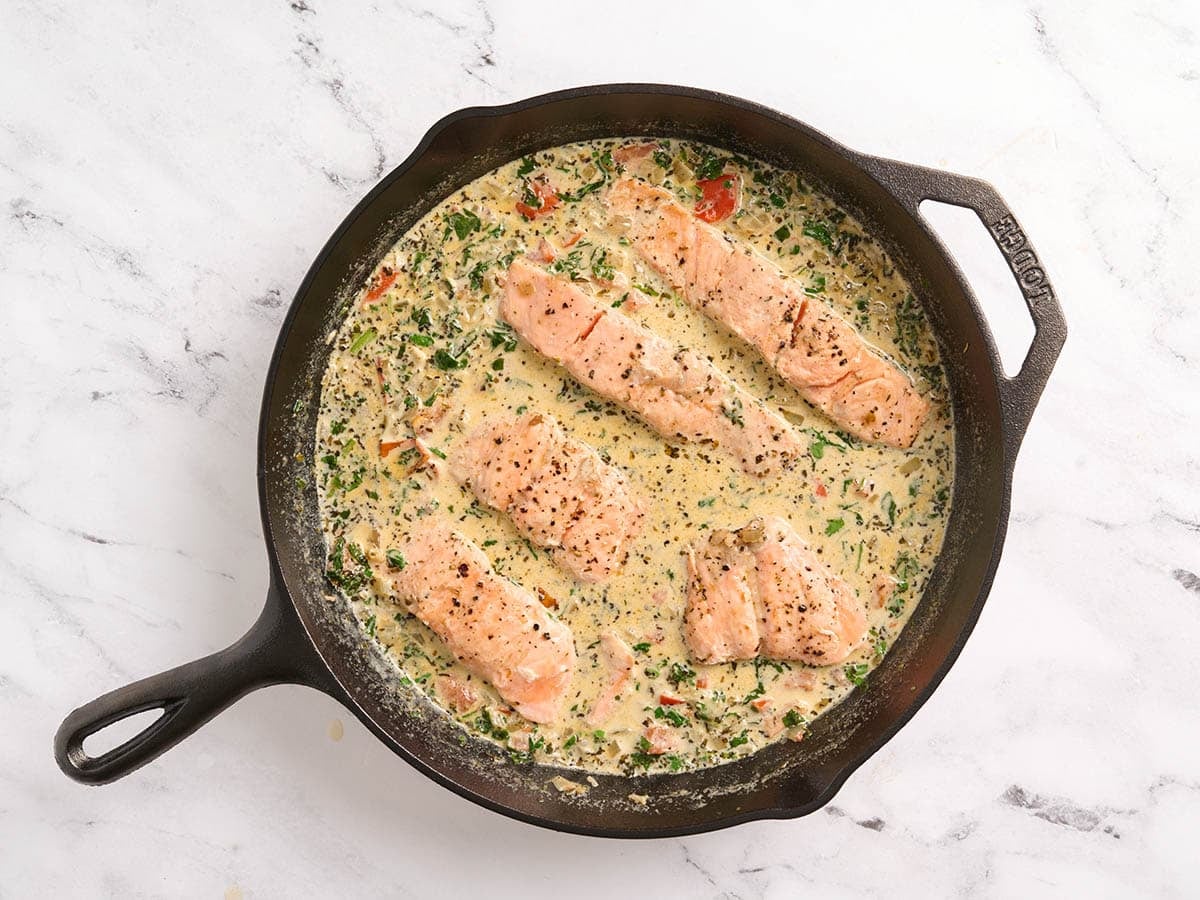
Finish the Tuscan salmon: Nestle the salmon back into the creamy tomato sauce and warm it through for a few minutes, spooning some of the sauce over the top.
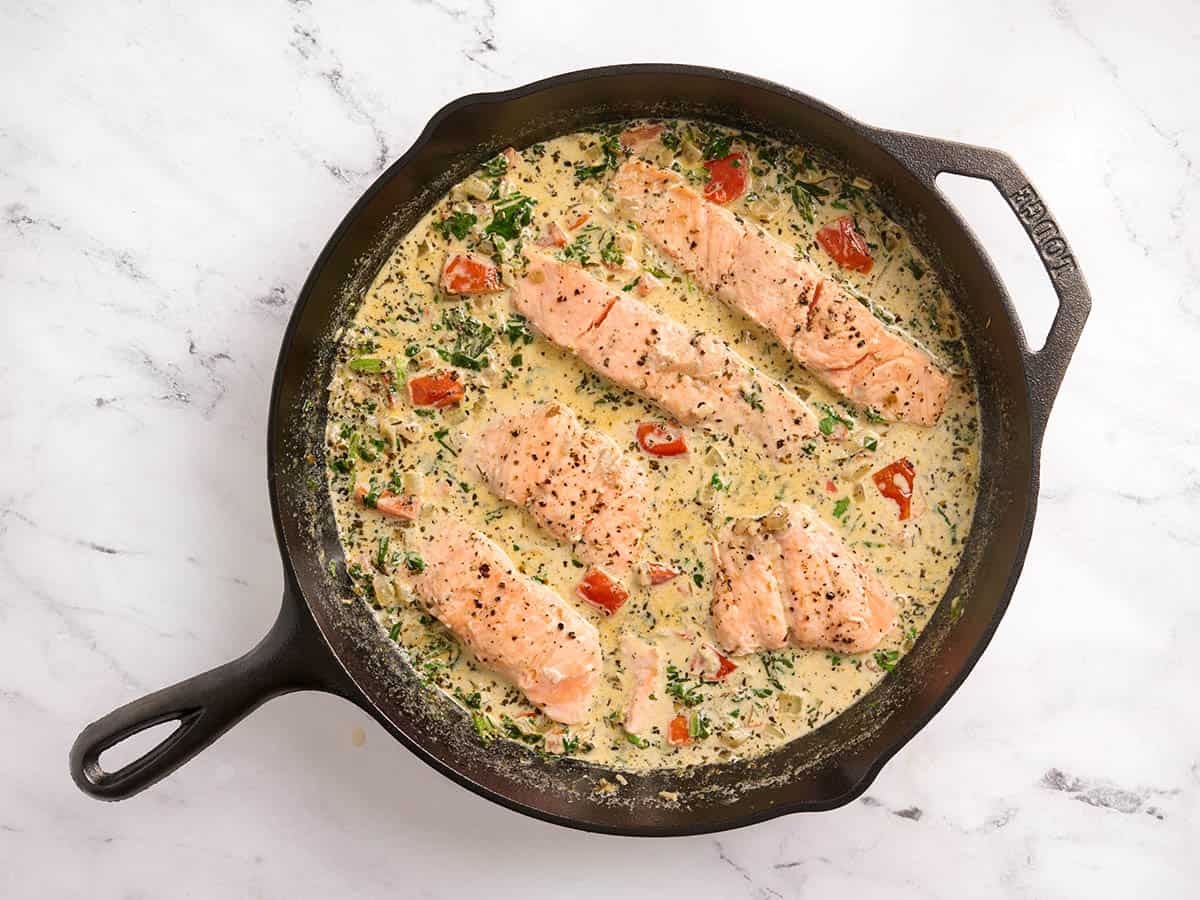
Serve and enjoy!

Serving Suggestions
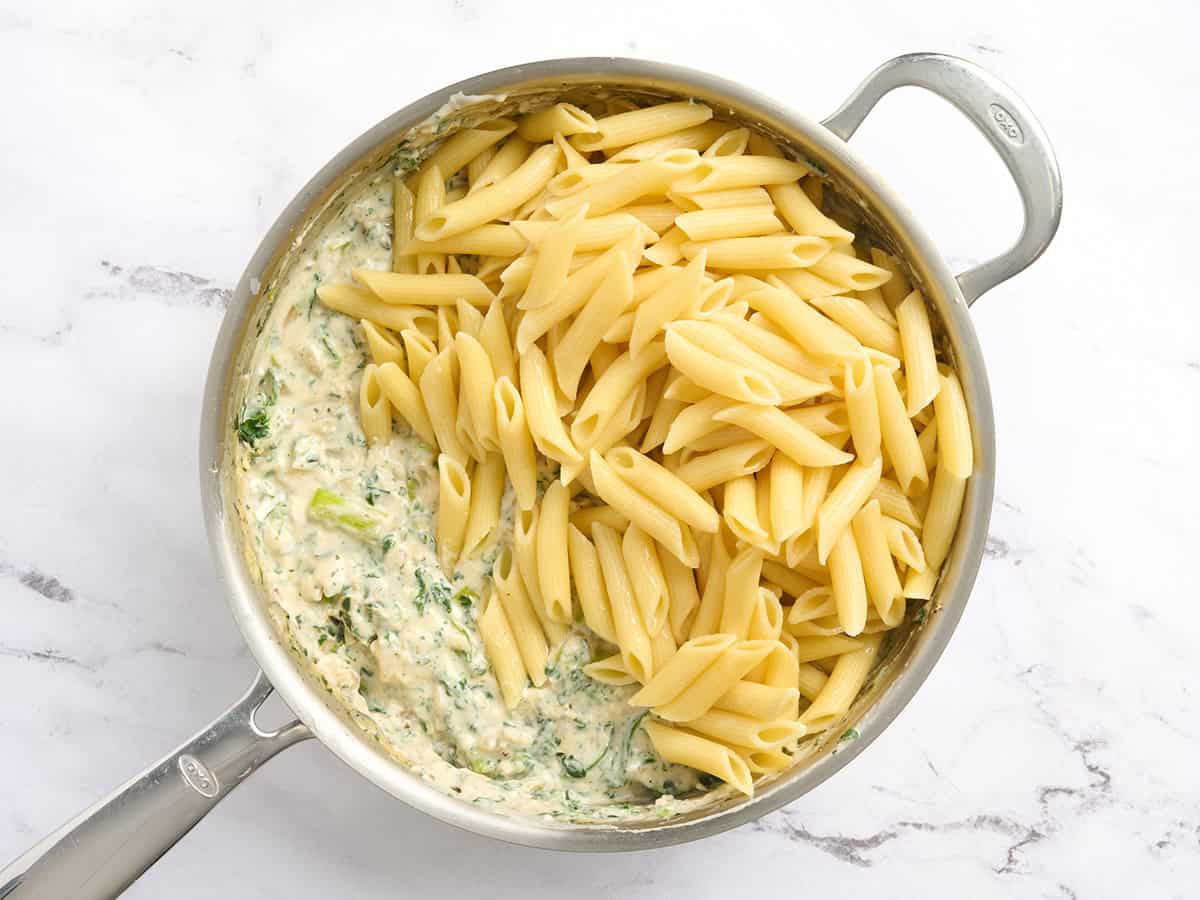
My family loves this Tuscan salmon over mashed potatoes, pasta, or rice! For pasta, try it with fettuccine, linguine, penne, or angel hair if you want something lighter. Garlic bread is also great on the side for scooping up any extra sauce, and a Greek salad keeps the meal bright and balanced. Leftovers are delicious, too! Flake the salmon over a leafy green salad the next day, or mix it with breadcrumbs and an egg to turn it into quick salmon patties!
Storage & Reheating
Let your Tuscan salmon cool to room temperature (for no more than 2 hours), then transfer it to an airtight container and store it in the refrigerator for up to 3 days. Reheat gently in the microwave until warmed through. I like to use shorter intervals so the salmon doesn’t overcook and the cream sauce stays smooth. I wouldn’t freeze this one, as the creamy sauce can separate and the salmon can become dry once thawed and reheated.
Love Tuscan Flavors? Try These Recipes Next:
- My Tuscan White Bean Stuffed Tomatoes are a hearty way to stretch a few big slicing tomatoes into a filling, budget-friendly meal.
- Tuscan Orzo is a 30-minute, one-pot dinner with creamy orzo, tomatoes, spinach, and Parmesan.
- I make Tuscan White Bean Pasta when I want something fresh and fast but still hearty enough to count as dinner!
More Easy Salmon Recipes


The post Tuscan Salmon Skillet appeared first on Budget Bytes.